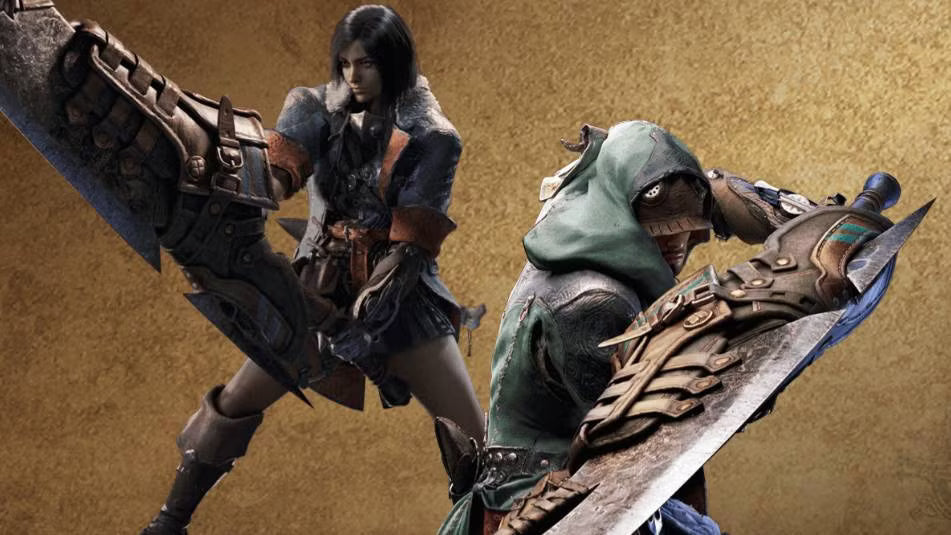
Talk to Gemma at any base camp and choose Forge or Upgrade Weapons. Every weapon starts as either an Expedition metal weapon or a Bone weapon, then branches into monster specific paths. Pick one branch and commit to it early rather than spreading materials thin. Artian weapons come later and work completely differently, using three parts of matching rarity and up to five reinforcement levels.
The upgrade screen in this game looks intimidating the first time you open it. A branching tree spreading in six directions, material names you have never seen, and no clear indication of which path is the right one. Most new hunters respond by upgrading a little bit of everything, which is the one approach that reliably leaves you underpowered.
Monster Hunter Wilds weapon upgrades are actually simpler than the interface suggests. There are only a few decisions that matter, and once you understand what a branch represents, the tree stops looking like a maze and starts looking like a shopping list.
This covers where to upgrade, how the tree works, where materials come from, the mistake almost everyone makes early, and how the Artian system fits in once you reach it.
Where Do You Actually Upgrade Weapons?
All Monster Hunter Wilds weapon upgrades run through Gemma, your smith, and she travels with you rather than staying in one hub. She is stationed at every base camp, so you never have to return anywhere specific to upgrade. Talk to her and the first dialogue option is Forge or Upgrade Weapons.
That mobility changes how you play. In earlier games, upgrading meant a trip back to town, so you would batch it up. Here you can adjust your loadout between hunts from wherever you happen to be camped, which makes experimenting far less costly.
Each with its own full upgrade tree and its own material requirements. You do not need to touch more than one or two of them to finish the game.
How the Weapon Tree Works
Every weapon type starts from the same two options: an Expedition weapon made of metal, or a Bone weapon. Both of those then split into multiple alternate trees, and that is where the branching begins. This structure is the backbone of Monster Hunter Wilds weapon upgrades, and it works identically for all fourteen weapon classes.
What a Branch Represents
Each branch is tied to a specific monster. Following that branch gives your weapon that monster's stats and affinities, which usually means a particular element, a raw damage profile, or a sharpness bias. So choosing a branch is really choosing what kind of damage you want to deal.
This applies across every weapon class equally. A long sword branch and a hammer branch from the same monster carry the same underlying character, just delivered differently. If you like the reach and rhythm of a long blade, a slim profile weapon like a fantasy penetrating sword is the physical equivalent of what you are building toward.
You Can Build More Than One
A detail that saves a lot of anxiety: you do not lose your existing weapon by exploring a different branch. Craft a fresh Expedition or Bone base and follow the other path with that one. Your original stays exactly as it is. Nothing in the tree is a permanent commitment as long as you are willing to farm the base materials again.
Where Materials Come From
The system is straightforward once you see the loop. Fight a new monster, carve and collect its parts, and new recipes unlock that use those parts. The upgrade screen tells you exactly which materials a step needs, and by extension which monster you need to go hunt.
Read that list before you commit anything. Checking requirements first is the single highest value habit for a new hunter, because it lets you plan hunts around a target instead of gathering material you will never use. Blunt weapon paths need different parts than blade paths, so a hammer build like the shape of a Gendry Baratheon's Warhammer pulls you toward entirely different monsters than a bladed path would.
Ore and environment materials matter too, especially early. Gathering while you travel between objectives costs almost no time and covers most of your low level upgrade costs without any dedicated farming.
The Mistake Almost Every New Hunter Makes
Spreading upgrades across several weapon types at once. It feels reasonable, since you are still deciding what you like, but the result is four weapons that are all slightly too weak for what you are fighting.
Damage in this series scales hard with upgrade level. One weapon at the top of its available tree will out perform three weapons at the halfway point by a wide margin, and it makes every hunt faster, which in turn gets you materials faster. The compounding works against you if you split your investment, and it is the main reason Monster Hunter Wilds weapon upgrades reward focus over experimentation.
Try every weapon type in the training area, where it costs nothing. Then pick one, or at most two, and put everything into them. Long reach weapons like an insect glaive have a completely different feel to something compact, and the difference between a polearm silhouette like a Scythe of Quakes prop and a pair of short blades tells you most of what you need to know before you commit any materials.
One fully upgraded weapon beats four half upgraded ones, every time. Pick a lane early and the whole game gets easier.
Artian Weapons: The Endgame System
Artian weapons work nothing like the standard tree, and they are the one part of Monster Hunter Wilds weapon upgrades worth reading about before you unlock it, so you do not waste parts on a bad craft.
Unlocking Them
They open up after the quest Wyvern Sparks and Rose Thorns, which puts you against a Guardian Fulgur Anjanath and a Tempered Lala Barina. Completing it awards a Damaged Weapon Shard, which unlocks Artian Tier I crafting.
Forging: Three Parts, Same Rarity
At the smithy, choose Forge Artian Weapons, pick your weapon type, and slot in three Artian parts. All three must be the same rarity. The specific parts depend on the weapon: great swords take Blade, Blade, Tube, while hammers take Disc, Disc, Tube.
Elements Are Decided by Your Parts
This is the part that catches people out. The weapon takes the dominant element among your three parts. Three parts of the same element gives you maximum elemental power. Three different elements gives you no elemental properties at all, which is a wasted craft. Match your elements or accept a pure raw weapon deliberately.
Reinforcement to Level 5
Once forged, you strengthen an Artian weapon by feeding it reinforcement materials at the smithy. Each material contributes a set number of Reinforce Points, and the weapon levels up to a maximum of five. Every level grants a random bonus, so two identical weapons can end up performing very differently.
Advanced Gogma Artian weapons build on this further, requiring a Rarity 8 base and carrying one Set Bonus Skill and one Group Skill, both of which can be re-rolled or amended. That is where the deep endgame optimization lives, and it is entirely optional for finishing the story.
Standard Tree vs Artian at a Glance
| Factor | Standard Weapon Tree | Artian Weapons |
|---|---|---|
| When you use it | From the start of the game | After Wyvern Sparks and Rose Thorns |
| How you build it | Follow a branch, spend monster parts | Combine 3 parts of matching rarity |
| Element | Determined by the branch you pick | Determined by your three parts |
| Predictability | Fully predictable, shown in advance | Random bonuses on each level |
| Max progression | End of the chosen branch | Reinforce level 5, plus Gogma skills |
A Simple Upgrade Order for New Hunters
If you want a plan rather than a system explanation, follow this in order and you will not go far wrong.
- Try all fourteen weapon types in the training area before spending anything
- Pick one, and build both the Expedition and Bone base version of it
- Read the material requirements on the next two upgrade steps before committing
- Follow a single branch to its current end rather than upgrading several partway
- Gather ore and environment materials passively while travelling, never as a dedicated trip
- Leave Artian crafting alone until you have a fully upgraded standard weapon
That last point matters. Artian parts are limited early, and burning them on a mismatched element craft is the most common early Artian mistake.
When Should You Switch Weapon Types?
Switch when you stop enjoying the rhythm, not when a guide tells you something else is stronger. Every weapon in Monster Hunter Wilds is viable, and the one you are comfortable with will always out perform the one you are fighting against.
If you do switch, do it cleanly. Build the new type up to a usable level in one push rather than alternating between the two, and keep your old weapon since you already paid for it. Ranged options are the most common second pick, since a bowgun asks completely different questions of you than melee does. A compact ranged shape like a Type-52 Mauler pistol is a useful mental contrast to the paired blade approach of something like dual club style props, and that gap in feel is exactly what you are choosing between.
Frequently Asked Questions
Gemma travels with you and is available at every base camp. Speak to her and select Forge or Upgrade Weapons. You never need to return to a central hub to work on your gear.
No. You can craft another base Expedition or Bone weapon and follow a different branch with it. Your original weapon stays intact, so no branch choice is permanent.
Complete the quest Wyvern Sparks and Rose Thorns, which involves a Guardian Fulgur Anjanath and a Tempered Lala Barina. Finishing it grants a Damaged Weapon Shard and unlocks Artian Tier I crafting.
Because your three parts had mixed elements. The weapon takes the dominant element of the three, and a fully mixed set produces no elemental properties. Use three parts of the same element for maximum elemental power.
Level 5. Each reinforcement material contributes Reinforce Points toward the next level, and each level grants a random bonus, so results vary between two otherwise identical weapons.
Browse high density foam and 3D printed weapon replicas built for display, from full sized blades to desk scale collectibles.
Shop Weapon Replicas →
